Contents:
- Why Tissue Paper Works So Well for Flower Wrapping
- What You Need Before You Start
- Step-by-Step: How to Wrap Flowers in Tissue Paper
- Step 1 — Layer Your Sheets
- Step 2 — Position the Bouquet
- Step 3 — Make the First Fold
- Step 4 — Bring in the Sides
- Step 5 — Secure and Finish
- Choosing the Right Tissue Paper for Different Flowers
- Practical Tips for Common Situations
- Mistakes That Undermine an Otherwise Good Wrap
- Frequently Asked Questions
- How many sheets of tissue paper do you need to wrap a bouquet?
- Can you wrap flowers in tissue paper and keep them fresh?
- What’s the best way to wrap long-stemmed roses in tissue paper?
- What type of tissue paper is best for wrapping flowers?
- How do you keep tissue paper from sliding off a bouquet?
- Take It Further: Tissue Paper as a Design Element
You’ve just cut a handful of garden roses or picked up a grocery store bouquet, and now they’re sitting on the counter looking lovely but naked. Giving flowers without any wrapping feels incomplete — but overwrap them clumsily and the whole effect falls apart. Tissue paper sits right in the sweet spot: affordable, widely available, and elegant when used correctly.
To wrap flowers in tissue paper, layer 2–3 sheets, place the bouquet diagonally across the center, fold the bottom corner up over the stems, then bring both side corners in and secure with floral tape or a ribbon. The whole process takes under three minutes once you’ve done it once.
Why Tissue Paper Works So Well for Flower Wrapping
Florists have relied on tissue paper for decades — not because it’s cheap (though it is, at roughly $0.10–$0.25 per sheet), but because it behaves well. It’s light enough not to crush delicate petals, porous enough to let flowers breathe, and it holds a fold without springing back the way craft paper does.
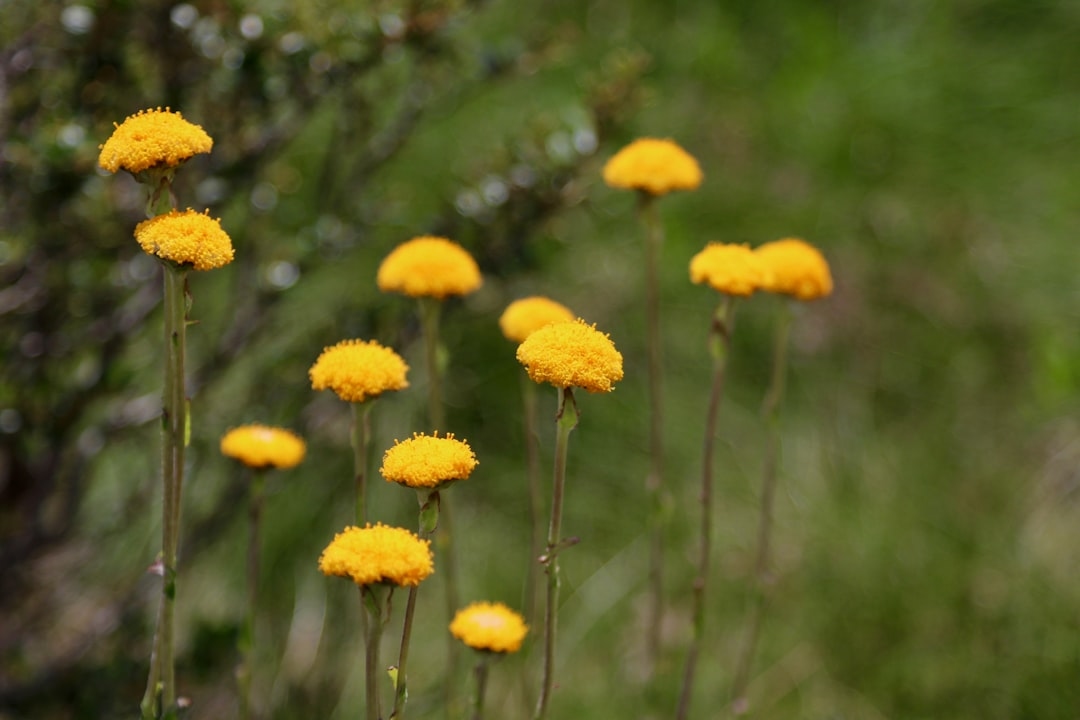
Tissue paper also comes in over 200 commercially available colors, which means you can match it to the blooms, the occasion, or the recipient’s taste. White and kraft-colored tissue are the most versatile. Dusty rose works beautifully with peonies. Deep forest green pairs well with sunflowers or wildflower bunches.
One underappreciated advantage: tissue paper doesn’t trap moisture the way cellophane does. Cellophane looks glossy and professional, but it can create a humid microclimate around the stems that accelerates wilting. Tissue paper lets air circulate.
What You Need Before You Start
Gather these materials before the flowers hit the table:
- Tissue paper: 2–4 sheets per bouquet, each roughly 20×26 inches (standard size)
- Floral tape or ribbon: A 12-inch piece of satin ribbon at ¼-inch width is ideal for most bouquets
- Scissors: For trimming stems and clean cuts on the paper
- A flat surface: A clean kitchen table or cutting board works fine
- Optional: A rubber band to temporarily hold stems while you work
Stem length matters here. Trim your bouquet stems to a consistent length — 10 to 14 inches is a workable range for handheld bouquets. Uneven stems make the wrapping lopsided and harder to secure neatly.
Step-by-Step: How to Wrap Flowers in Tissue Paper
Step 1 — Layer Your Sheets
Lay two or three sheets of tissue paper flat on your work surface, slightly offset from each other by about 2 inches. Staggering the layers creates a ruffled, dimensional edge at the top of the wrap that looks intentional rather than hasty. For a more structured look, align the sheets evenly.
Step 2 — Position the Bouquet
Place the bouquet diagonally across the tissue paper, with the flower heads pointing toward the upper-left corner and the stems extending toward the center-right. The stems should reach to approximately the midpoint of the paper. This diagonal placement is the key to a clean, cone-shaped wrap.
Step 3 — Make the First Fold
Take the bottom corner of the tissue paper (the one closest to the stem ends) and fold it up and over the lower portion of the stems. Pull it snug — not tight enough to crush anything, but firm enough that it won’t slip. This creates the base of your cone.
Step 4 — Bring in the Sides
Fold the left side of the paper over the bouquet first, wrapping toward the right. Then bring the right side across to meet it. The flower heads should remain open and visible at the top. If the paper covers the blooms, reposition the bouquet lower on the paper and try again.
Step 5 — Secure and Finish
Hold the wrapped bouquet firmly at the stem-paper junction and wrap your ribbon or floral tape around it 2–3 times, then tie a bow or knot. A bow adds roughly 30 seconds but dramatically improves the presentation. Trim any excess tissue paper at the base with scissors for a clean finish.
Professional florists often use a technique called the double-cone wrap: after completing the basic wrap, they add a second layer of tissue in a contrasting color, rotated 45 degrees from the first. The result is a multi-toned ruffle around the blooms that looks expensive but costs pennies. Try it with white over blush pink for an instantly sophisticated look.
Choosing the Right Tissue Paper for Different Flowers
Not all blooms are wrapped the same way. Delicate flowers like anemones or sweet peas benefit from a single loose sheet — too much paper compresses the petals. Sturdier flowers like sunflowers or chrysanthemums can handle 3–4 tightly wrapped layers.

For mixed bouquets, consider using two tissue colors: one that complements the dominant flower, one that echoes an accent bloom. A bouquet of white lilies with purple statice, for example, looks stunning wrapped in soft lavender tissue with a white outer layer.
Matte tissue paper photographs better than glossy alternatives — worth knowing if the bouquet is a gift being documented on social media or for a wedding.
Practical Tips for Common Situations
- Gifting at a party: Pre-wrap flowers at home and transport them upright in a tall vase or pitcher. The wrap stays intact and the bouquet arrives looking fresh.
- Long-stemmed roses: Use a longer sheet of paper — or tape two sheets end-to-end — so the base cone fully covers the thorns. A 30-inch length works well for standard 18-inch rose stems.
- Wet stems: Pat stem ends dry with a paper towel before wrapping. Wet stems soak through tissue paper within 20–30 minutes, leaving visible stains and weakening the paper’s structure.
- In a hurry: A single sheet gathered into a cone shape and secured with a rubber band takes 45 seconds and still looks intentional.
- Adding a water source: For bouquets traveling more than 30 minutes, wrap a damp paper towel around the stem ends before adding the tissue layer. This buys 2–4 hours of hydration without any special equipment.
Mistakes That Undermine an Otherwise Good Wrap
Placing the bouquet too high on the paper is the most common error. It leaves the stems exposed and makes the bouquet look unfinished. The stems should be at least halfway down the paper before you begin folding.
Using tissue paper that’s too thin is another issue. Bargain tissue paper — the kind sold in multipacks for gift bags — often tears during folding. Look for tissue paper with a weight of at least 17–20 gsm for structural integrity.
Over-tightening the ribbon cuts into the tissue and creates an unsightly pinch point. Tighten until the paper feels held, then stop.
Frequently Asked Questions
How many sheets of tissue paper do you need to wrap a bouquet?
For most standard bouquets, 2–3 sheets of tissue paper provide enough coverage and visual depth. Use 2 sheets for small posies of 5–7 stems and 3–4 sheets for larger arrangements of 12 or more stems.
Can you wrap flowers in tissue paper and keep them fresh?
Yes. Tissue paper allows airflow, which helps flowers stay fresh longer than airtight cellophane wraps. For bouquets that need to stay fresh for more than an hour, wrap a damp paper towel around the stem ends beneath the tissue paper layer.
What’s the best way to wrap long-stemmed roses in tissue paper?
Use a sheet at least 24–30 inches long, or tape two standard sheets together at the ends. Place the roses diagonally so the thorn-covered stems are fully enclosed in the cone. Secure with ribbon at the point just below where the tissue meets the stems.
What type of tissue paper is best for wrapping flowers?
Matte tissue paper at 17–20 gsm is ideal — it’s sturdy enough to hold folds without tearing and doesn’t create glare in photos. Florist-grade tissue paper, available at craft stores for $4–$8 per pack of 24 sheets, offers the best combination of durability and appearance.
How do you keep tissue paper from sliding off a bouquet?
Secure the wrap immediately after folding using floral tape, a rubber band, or ribbon. Wrapping the ribbon around the stem-paper junction at least twice before tying prevents slippage. For extra security, a small piece of transparent tape on the paper overlap holds everything in place before the ribbon goes on.
Take It Further: Tissue Paper as a Design Element
Once the basic technique feels natural, tissue paper becomes a genuine design tool rather than just a functional covering. Experiment with torn edges instead of folded ones for a rustic, organic look. Try layering three different shades of the same color family — three pinks, three greens — for an ombré effect that elevates a simple grocery store bouquet into something that looks carefully considered.
The next time you’re preparing flowers for a birthday, a dinner party, or a simple weekday gesture, reach for the tissue paper first. With practice, a good wrap takes less than two minutes — and it’s often the first thing the recipient notices.