Contents:
- What’s Actually Happening When Mums Turn Black
- The Most Common Causes of Chrysanthemums Turning Black
- Fungal Diseases (Botrytis and Septoria Leaf Spot)
- Frost and Cold Damage
- Root Rot from Overwatering
- Aphid Infestations and Sooty Mold
- Eco-Friendly Approaches to Treating Black Mums
- Practical Tips for Apartment and Small-Space Growers
- FAQ: Chrysanthemums Turning Black
- Why are my chrysanthemum leaves turning black?
- Can I save a mum with black stems?
- Why did my mums turn black after a cold night?
- Is black on chrysanthemum petals always a disease?
- How do I prevent my mums from turning black next season?
- Ready to Rescue Your Mums?
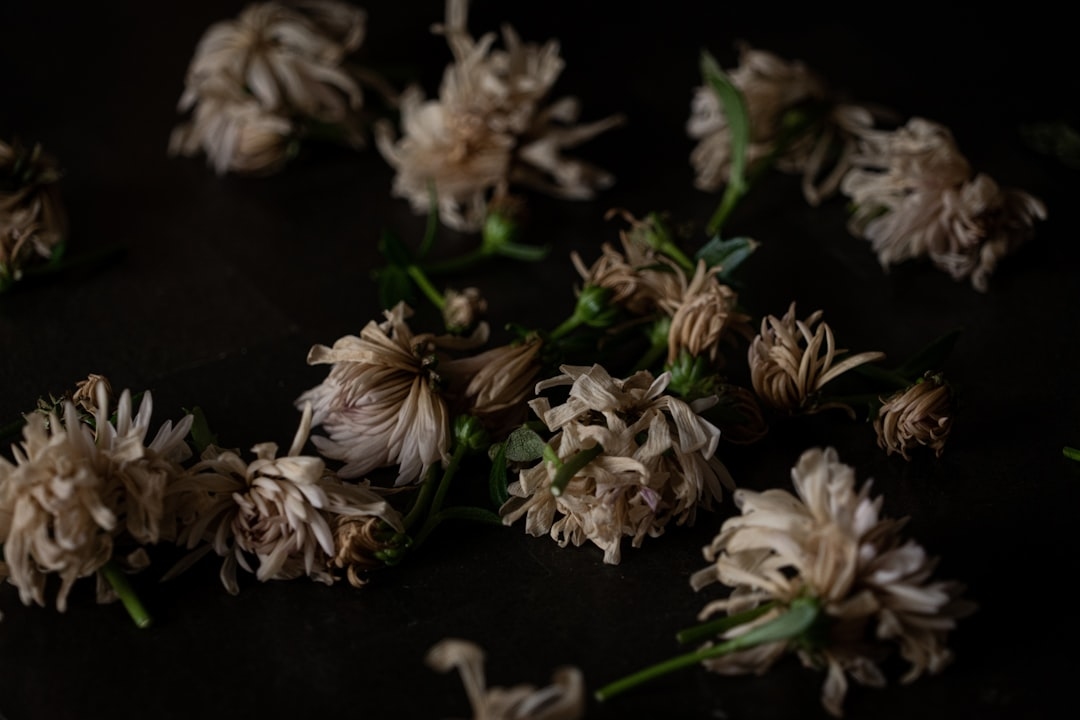
A lot of gardeners assume black chrysanthemum leaves or blooms mean the plant is simply dying of old age. Not true. Blackening mums are almost always sending you a distress signal — one that’s very fixable once you know what you’re looking at. Whether you’re growing a potted mum on a windowsill or nurturing a small balcony container garden, chrysanthemums turning black is one of the most common — and most misunderstood — problems in home gardening.
The good news? Most causes are treatable, and catching them early makes all the difference.
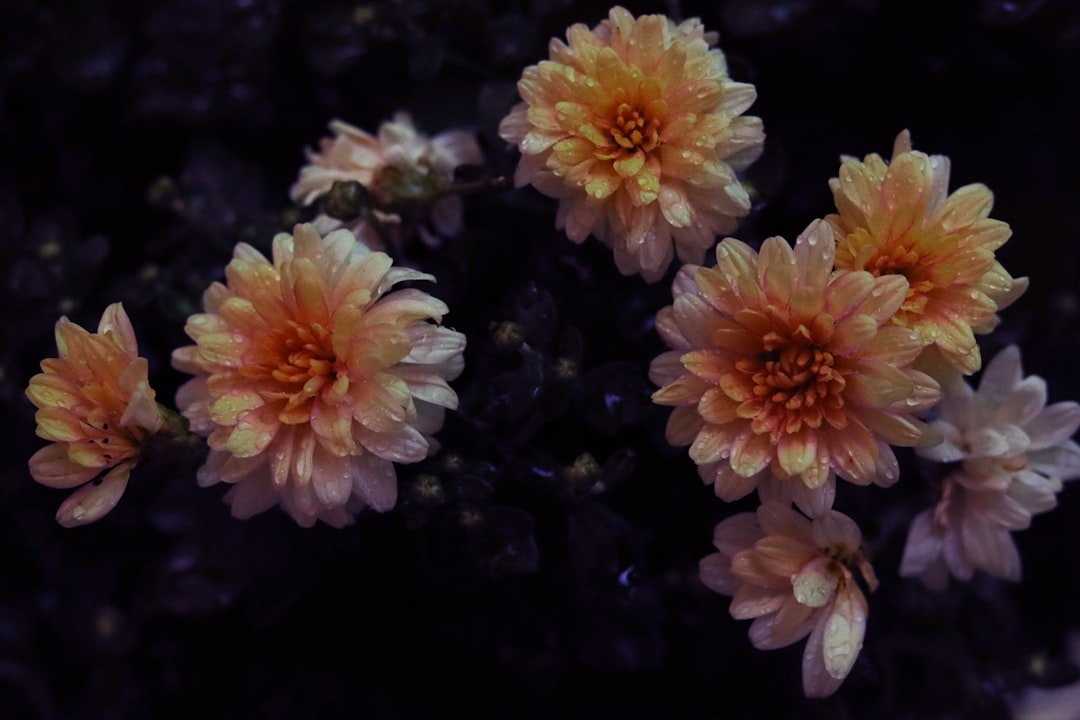
What’s Actually Happening When Mums Turn Black
Blackening on chrysanthemums isn’t one single disease or problem — it’s a symptom. The discoloration can appear on leaves, stems, or flower petals, and each location tells a slightly different story. Leaves turning black from the tips inward usually suggest a fungal issue or environmental stress. Black stems near the soil line often point to root rot. Darkened petals, especially after a cold snap, are usually frost damage.
Understanding the difference saves you from treating the wrong problem — and potentially making things worse.
The Most Common Causes of Chrysanthemums Turning Black
1. Fungal Diseases (Botrytis and Septoria Leaf Spot)
Botrytis blight — also called gray mold — is the number one culprit behind blackened chrysanthemum blooms and leaves. It thrives in cool, humid conditions and spreads rapidly when air circulation is poor. In container-grown mums crowded onto an apartment balcony or windowsill, this is especially common. You’ll notice water-soaked spots that turn dark brown to black, often with a grayish fuzzy coating in advanced stages.
Septoria leaf spot is another fungal offender, causing circular dark lesions — usually 2 to 4mm in diameter — that start yellow, then turn brown-black. It spreads through splashing water, which is why overhead watering is such a problem for mums.
Fix it: Remove affected leaves immediately and dispose of them — don’t compost them, as fungal spores survive composting in home bins. Apply a copper-based fungicide every 7 to 10 days. Improve air circulation by spacing containers at least 12 inches apart.
2. Frost and Cold Damage
Mums are cold-sensitive once they’re in bloom. Temperatures below 32°F will blacken petals almost overnight, leaving them with that telltale soggy, translucent look before they darken. Even a brief dip to 28°F can kill exposed blooms entirely.
If you’re in the Northeast or Midwest and you’ve bought mums for fall decoration, this is the most likely explanation for sudden blackening in October or November. Gardeners in the South and Southwest have a longer window — fall mums in Atlanta or Phoenix can thrive well into December without frost concerns, while a Boston gardener may lose their display by mid-October.
Fix it: Move potted mums indoors or under cover when overnight temps are forecast below 35°F. A frost cloth draped loosely over outdoor containers can buy you another two to three weeks of blooms.
3. Root Rot from Overwatering
Chrysanthemums need consistently moist — not waterlogged — soil. In a small apartment setting where drainage is limited or saucers trap standing water, root rot sets in fast. The roots turn brown and mushy, cutting off water and nutrient uptake. The first visible sign above soil? Wilting despite wet soil, followed by blackening stems and leaves.
A quick diagnostic: stick your finger 2 inches into the soil. If it’s soggy and the plant looks stressed, overwatering is likely the issue.
Fix it: Let the soil dry out slightly between waterings — mums generally need water every 2 to 3 days indoors, depending on pot size and humidity. Always use pots with drainage holes. If root rot has set in, repot into fresh, well-draining mix and trim away any blackened roots with clean scissors.
4. Aphid Infestations and Sooty Mold
Aphids themselves don’t turn mums black, but the mold that follows them does. Aphids excrete a sticky substance called honeydew, and a black fungus called sooty mold colonizes that residue. The result is a black, powdery coating on leaves and stems that looks alarming but is actually secondary to the real pest problem.
Fix it: Knock aphids off with a strong stream of water or treat with insecticidal soap spray (mix 1 teaspoon of mild liquid soap per quart of water). Once the aphids are gone, the sooty mold will gradually weather away on its own, though wiping leaves gently with a damp cloth speeds things up.
Eco-Friendly Approaches to Treating Black Mums
Before reaching for synthetic fungicides or pesticides, there are genuinely effective low-impact options worth trying first. Neem oil — pressed from the seeds of the neem tree — works as both a fungicide and an insecticide. Mix 2 teaspoons of neem oil with 1 teaspoon of liquid soap and 1 quart of water, then spray every five to seven days. It’s biodegradable, safe for most beneficial insects when applied in the evening (after pollinators are less active), and widely available at garden centers for around $10 to $15 per bottle.
Baking soda spray (1 tablespoon per gallon of water with a few drops of soap) can also suppress early-stage fungal infections. It’s not a cure for advanced disease, but it’s a solid preventive measure — and about as eco-friendly as it gets.
Practical Tips for Apartment and Small-Space Growers
Growing mums in tight spaces requires a slightly different approach than a traditional garden. Here’s what actually works:
- Choose pots that are at least 8 inches in diameter — smaller containers dry out too fast and stress roots.
- Use a well-draining potting mix, not garden soil, which compacts in containers and restricts airflow to roots.
- Water at the base, never from above. A small watering can with a narrow spout is worth the $12 investment.
- Rotate your pots every few days so all sides receive equal light — this prevents the uneven stress that weakens plants and invites disease.
- As noted by Dr. Lena Hartwell, a certified horticulturist and plant pathologist with 18 years of experience in urban container gardening: “The single biggest mistake apartment gardeners make with mums is placing them in decorative pots without drainage. A beautiful outer pot is fine — just keep your mum in its nursery container with holes, set inside the decorative one, and empty the outer pot after every watering.”
FAQ: Chrysanthemums Turning Black
Why are my chrysanthemum leaves turning black?
The most common causes are fungal diseases like Botrytis blight or Septoria leaf spot, both of which thrive in humid, poorly ventilated conditions. Overwatering and root rot can also cause blackened leaves. Start by checking soil moisture and improving air circulation around the plant.
Can I save a mum with black stems?
It depends on how far the damage has spread. If the blackening is limited to a few stems, prune those stems back to healthy tissue, treat with a copper fungicide, and repot if root rot is suspected. If the majority of stems are affected and soft at the base, the plant is likely too far gone to save.
Why did my mums turn black after a cold night?
Frost damage causes chrysanthemum blooms and leaves to turn black rapidly. Temperatures below 32°F damage cell walls in the plant tissue, causing that characteristic dark, wilted appearance. The plant’s roots may still be alive — trim off the blackened growth and bring the pot indoors to assess recovery.
Is black on chrysanthemum petals always a disease?
No. Black or darkened petals are frequently caused by frost damage, physical bruising during transport, or simply the natural end of a bloom cycle. Disease-related petal blackening is usually accompanied by dark spots on leaves and stems as well. If only the petals are affected, environmental causes are more likely.
How do I prevent my mums from turning black next season?
Prevention comes down to three things: good drainage, adequate spacing for airflow, and bottom watering instead of overhead watering. Start with a clean, disease-free potting mix each season, and remove dead plant material promptly rather than leaving it in or around containers.
Ready to Rescue Your Mums?
Now that you know what’s actually causing your chrysanthemums to turn black, you can stop guessing and start treating. Check your watering habits first — it’s the most common fix and costs nothing. Then look at your growing conditions: airflow, container drainage, and overnight temperatures are the three levers you have the most control over.
Pick up a bottle of neem oil, repot if needed, and give your mums a fresh start. Most plants that look like a lost cause at this stage will surprise you with how quickly they rebound once the stressor is removed. Your balcony display isn’t finished yet.